


My daughter loves bling. So, when she discovered that she could add shiny rhinestones to her plain shirts and bags, she was very eager to give it a try.
We used a hot-fix rhinestone applicator and 4 mm diameter rhinestones for this project. Please note, however, that this device gets really hot and can very easily cause burns. Thus, please proceed with caution (especially when working with children). This project also requires a bit of patience, because attaching each rhinestone takes around 10 seconds (when you multiply that by the number of rhinestones in your pattern, it can quickly add up!).

My daughter first drew a design by hand. We then recreated her idea with more precision in Inkscape (a great free and open source vector graphics editor). You can also start with a ready-made template, which you can find online. I also prepared a Muumade_Free_PEACE_Symbol_Rhinestone_Pattern which you can download.
The design shown in the photo above, as well as the free peace symbol template, is approximately 15 cm (6″) high and 15 cm (6″) wide, and the dots for the placement of rhinestones are approximately 5 mm (3/8″) apart from each other.
There are kits and software available to create silhouette templates on fabric, but we simply used a print-out of our design and a straight tailor’s awl to make a pattern with holes for the placement of the rhinestones. This is how we did it:
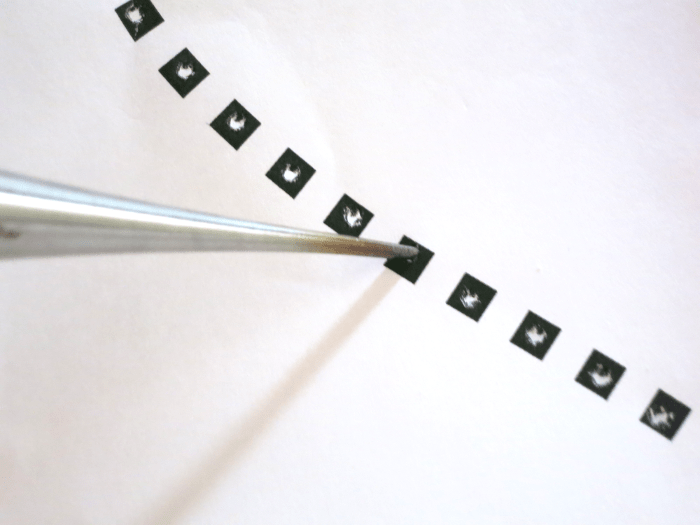 |
1. Place the print-out of your design on top of a mat or a sheet of thick cardboard. Using a pointy tool, such as a straight tailor’s awl, make a hole in every mark in the pattern. |
 |
2. Put the pattern on top of the shirt. We placed it so that its top edge was approximately 10 cm (4″) below the collar of the shirt. Pin or tape the pattern so that it will not move around.
Note: Make sure to insert a mat or a sheet of cardboard inside the shirt to separate its top and back layers! (Otherwise, you might end up with marks on the back of the shirt as well as the front.) |
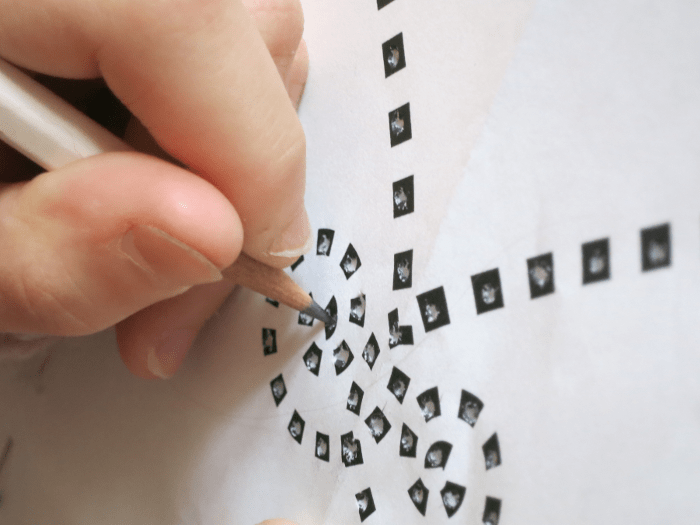 |
3. Trace the pattern onto the shirt with a pencil. Simply use the holes in the pattern to make small dots on the fabric. (If you chose a dark colored shirt you can use a tailor’s pencil to make the marks.) |
 |
4. When done, remove the paper pattern. You should have a nicely traced pattern on the shirt! |
Now you are ready to start gluing the rhinestones onto your shirt.
 As for how to use a hot-fix applicator, it is best to follow the instructions which came with your device. I just want to note that we first tried using a precision tip (with a concave end), but it left a faint ring mark around the stones. In the end, we found that a hot spot tip (with a flat end) gave a much cleaner finish.
Be brilliant!
Discover more from Muumade
Subscribe to get the latest posts sent to your email.