


Let’s make a beautiful lilac bouquet pop-up card! This pop-up card has three overlapping layers of flowers to make the bouquet look full and impressive. Handmade cards are great for important occasions, such as birthdays and graduation, or to convey a “thank you,” “miss you, or “get well” message to a special person.
Materials and tools that you need to make your original lilac bouquet pop-up card are:
- 2 sheets of construction paper of the same size, either US Letter or A4 (one for the outer layer and the other for the inner layer of the card), in colors of your choice;
- 1 sheet of green printer paper;
- Pieces of construction paper or printer paper in different pink and purple colors to make the flowers;
- Thin paper (like wrapping paper) or a real ribbon, for a bow, 10 x 2 cm (4″ x 3/4″)
- Craft glue;
- Scissors;
- Ruler;
- Pencil; and
- (Optional) Double-sided tape.
Note: When finished, this card measures 8″ long by 5.5″ wide (when closed) if you use US Letter size paper, or 21 cm long by 14.85 cm wide in the case of A4. If you wish to make a smaller card, make sure that it is at least 17 cm (6 5/8″) long and 7.5 cm (3″) wide (when closed). This ensures that the card will be large enough for the flower pop-up inside.
Let’s begin!

1. Select a sheet of construction paper for the inner layer of your card.
As shown on the left, fold that sheet in half length-wise to make a crease along its center.

2. Fold the paper in half along the newly-made crease. Trim 2 mm (1/8″) off from the top edge. Also, trim 2 mm (1/8″) from the edge opposite the crease.

3. On the folded edge of the paper, you will draw the outline of the bouquet:
First, lightly mark the midpoint of the creased edge with a pencil (the red dot in the image).
Starting 1.5 cm (9/16″) above the midpoint, draw a 3.5-cm (1 3/8″) horizontal line.
Next, draw a 7-cm (2 3/4″) diagonal line from the end of that line to the folded edge of the paper.

4. Now, you will draw the bottom part of the bouquet. It is a tiny triangle at the bottom of the large triangle.
Measure 1 cm (3/8″) from the bottom tip of the large triangle along the folded edge of the paper. Then, draw a 5-mm (3/16″) horizontal line from there.
Connect the end of that horizontal line with the bottom tip of the large triangle.

5. Make two cuts, one along the top horizontal line, and the other along the bottom horizontal line.

6. Make creases along the two drawn diagonal lines, To do so, place a ruler along each line and make the folds in the directions indicated by the arrows in the image.

7. Gently push each triangle inward with your fingers.

When you open the card, its inside should look like the image.

8. Cut out a 7 x 9-cm (2 3/4″ X 3 1/2″) piece of green printer paper.
Fold it in half, as indicated by the arrow in the image.

9. Measure 1.1 cm (7/16″) from the top of the folded edge of the paper. Then, draw a 3-cm (1 3/16″) horizontal line from there.
Next, draw a diagonal line from the end of that horizontal line to the bottom of the folded edge.

10. Make a cut along the horizontal line.
Then, temporarily fold along the diagonal line to make a crease there.

11. Push the triangular segment inward between the two layers of paper.
Set it aside.

12. Prepare another piece of green printer paper that is at least 6 x 6 cm (2 3/8″ x 2 3/8″).
Fold that sheet in half. And cut out a right triangle that is 5.7 cm (2 1/4″) long, and 2.8 cm (1 1/8″) wide when folded, as shown in the image.

13. Starting 1.5 cm (9/16″) below the top of the folded edge, draw a 1.5-cm (9/16″) horizontal line.
From the end of that line, draw a line that is roughly parallel to the diagonal edge of the triangle (which is shown with a dotted line in the image).

14. Make a cut along the horizontal line.
Then, make a crease along the diagonal line.

15. Push the top segment inward, as shown in the image.

16. Place the two green pieces side by side, as shown in the image.
Apply glue to the smaller piece on the left, in the area that is highlighted in orange. (Make sure to also apply glue on the other side of that piece, which is not visible in the photo.)
Insert the smaller piece into the larger piece, as indicated by the arrow. The bottom tip of the triangle piece should match the bottom tip of the triangle fold of the larger piece.

The combined piece should look like the one in the image.
Press the glued areas together firmly to attach the two layers together.

When opened, the combined green piece should look as shown in the image.

17. Make lilac flowers!
To make the flowers, first cut out each flower in a cloud-like shape, as shown in the image. The flowers are about 1-cm (3/8″) wide and somewhere between 1 and 2.2-cm (3/8″- 7/8″) high. Then, prepare tiny bits of paper (approximately 2 mm (1/16″) in size). Now, apply glue to the flower (highlighted in orange in the image). Lastly, place the glued-side of the flower on top of the cluster of bits to randomly attach the bits onto the flower.

To give you an idea, I made the following types of flowers:
- a set of 4 smallish flowers (about 1-cm (3/8″) high),
- another set of 4 larger flowers (about 2.2-cm (7/8″) high), and
- 10 more flowers of varying sizes.
🍃 Also cut out heart-shaped lilac leaves of varying sizes from the green printer paper.
👉 Now, glue the first set of 4 flowers along the inner edge of the bouquet. These initial flowers are shown in the image.

18. Next, glue the set of 4 larger flowers along the outer edge of the bouquet.

19. Apply glue to the area of the green piece that is shaded in orange in the image.

20. Carefully insert the bouquet part of the green piece into the opening of the white card from its backside. The top horizontal cuts of the two layers should be aligned. Press the glued area of the green piece against the backside of the white card.

The front side of the card should look like the image.

21. Glue the rest of the flowers onto the area behind the pop-up flowers. Scatter the leaves around and among the flowers.

22. Fold the outer layer of the card in half to make a crease along its center line.
Then, as shown in the image, place the inner layer on top of the outer layer. Now, attach them together with glue o double-sided tape. You should at least put the glue or tape in the areas highlighted in orange in the image.
Make sure to glue/tape together the other half of the card as well.

23. Now let’s make a bow for the bouquet!
a. Cut out 2 strips of thin colored paper that are each approximately 10-cm (4″) long by 0.5-cm wide (1/4″). Make a third, but shorter, strip about 4 cm (1 1/2″) long.
b. Fold over one end of one of the two longer strips to meet its center. Repeat with the other strip.
c. Cross the two strips into a bow shape and glue them together.
d. Attach the midsection of the short strip to the cross section of the bow with a bit of glue.
e. Fold over the two ends of the short strip and glue them to the back side of the bow.
Finished! 🎀

24. Glue the bow to the bottom of the bouquet, where the large and small triangles meet.

25. If you wish, you can decorate the cover of the card as well.
Your flower bouquet pop-up card is finished!
Below, the grey Little Felt Rabbit is joined by a floppy-eared friend to admire the gorgeous lilac flower card.

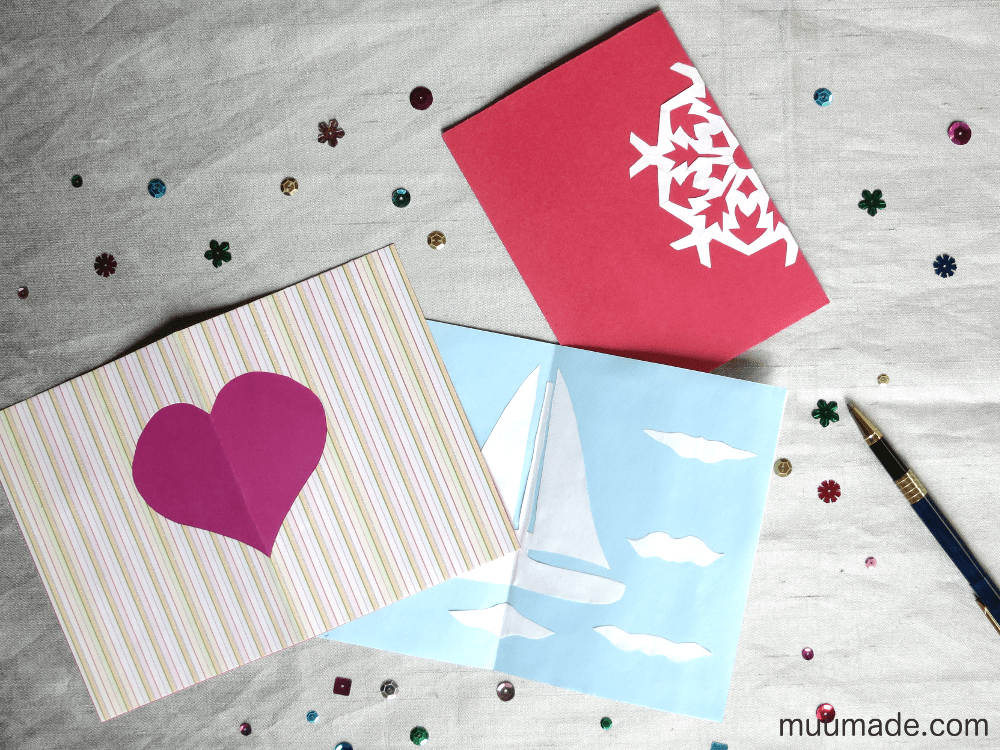
If you’ve enjoyed making the lilac flower pop-up card, you may also be interested in other card projects that I’ve posted:


Hurray for making a one-of-a-kind handmade card for someone special!
Discover more from Muumade
Subscribe to get the latest posts sent to your email.