


Making cards with tissue paper scrunchies is fun and easy. This idea involves making small balls or wads from pieces of tissue paper and gluing them onto a card in whatever way you like.
Below, I will describe how I made a card decorated with tissue paper scrunchies. But, you can use tissue paper scrunchies for many other kinds of art, such as collages, paper mosaics, decorating jars, etc.
 Here is what you need to make a card with tissue paper scrunchies:
- Tissue paper,
- Construction paper,
- Stick glue,
- Craft glue, and
- whatever other decorative pieces you wish to add to your card.

First, make a card from the construction paper. In the photo above, I cut a sheet of construction paper in half lengthwise, and then folded one of the pieces in half to make a card that is 14 cm x 10.8 cm (5 1/2″x 4 1/4″). Then, I traced the outline of a dress that I had made on a regular sheet of paper. (Note: When designing your card, make sure not to cut all the way along the fold of the card; otherwise the front and back of your card will come apart!)
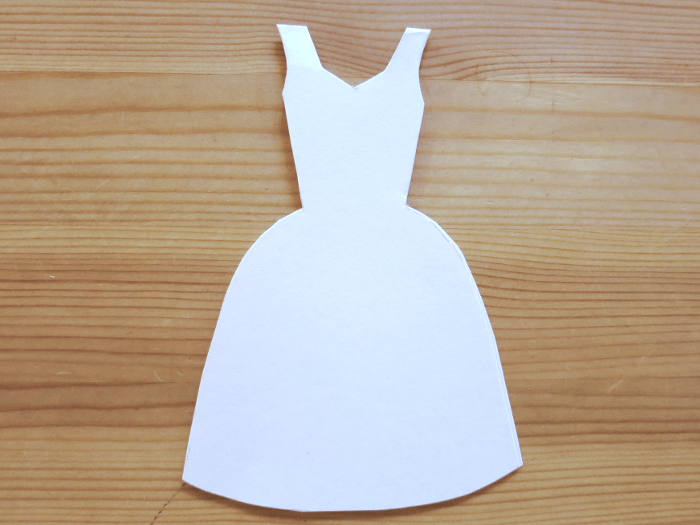 Cut both layers of the card at the same time along the outline of your design. (Here the top edges of the straps hold the front and back of the dress together.)
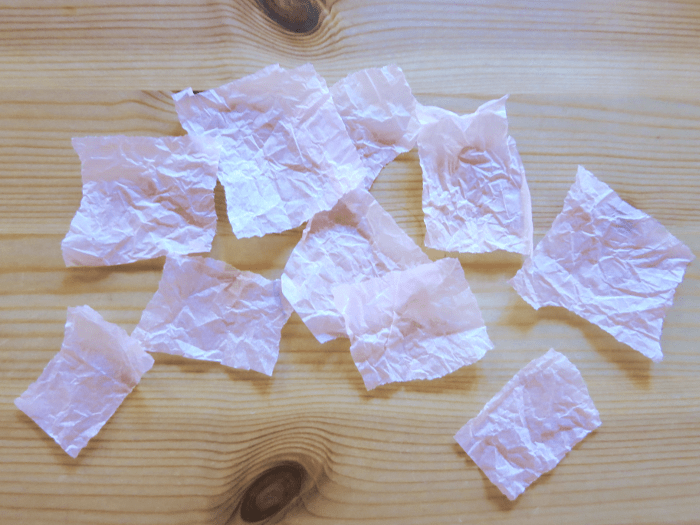 Tear the tissue paper into small squares. The ones in the photo are approximately 4 cm x 4 cm (1 1/2″x 1 1/2″).
 Apply a bit of stick glue to the four corners of each tissue paper piece (as shown by the green circles in the photo). Then crumple them up, tucking in the corners when making the piece into a little ball. (You can also make these tissue paper scrunchies without glue. But, I have found that they stay more neatly formed when they have a tiny bit of glue to hold them together.)
Please note that making tissue paper scrunchies can take some time. If you do not have the time or patience to crumple up the tissue paper pieces, you can wrap each square of tissue paper around the eraser end of a pencil and then press it against a glued surface. This pencil method is faster, but it creates a different effect.
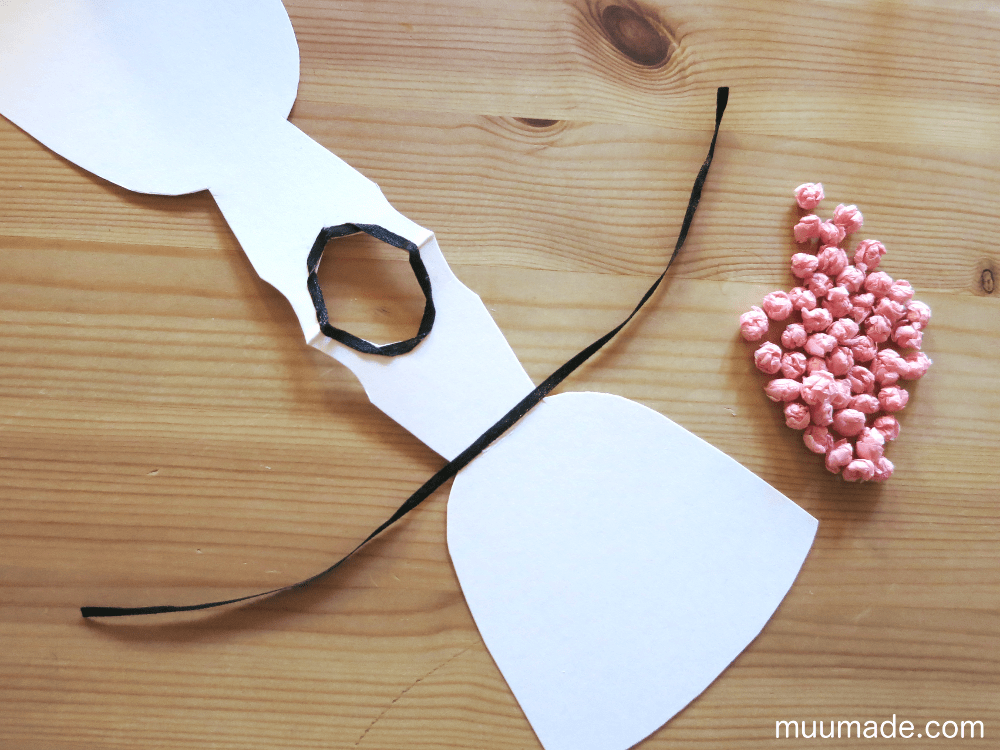
Once you have enough tissue paper scrunchies to work with, it is time to glue them onto your card, using craft glue. If you want to glue on any other flat decorations, I recommend that you do so before you start gluing on the tissue paper scrunchies. As you can see in the photo, I started by gluing thin strips of black ribbon around the dress’s collar and across its waist.

I used approximately 50 scrunchies to decorate this dress shaped card. I also added some dots of glue to the dress to add some texture and shininess. For a bit of elegance, I attached a small red heart to the center of its collar.
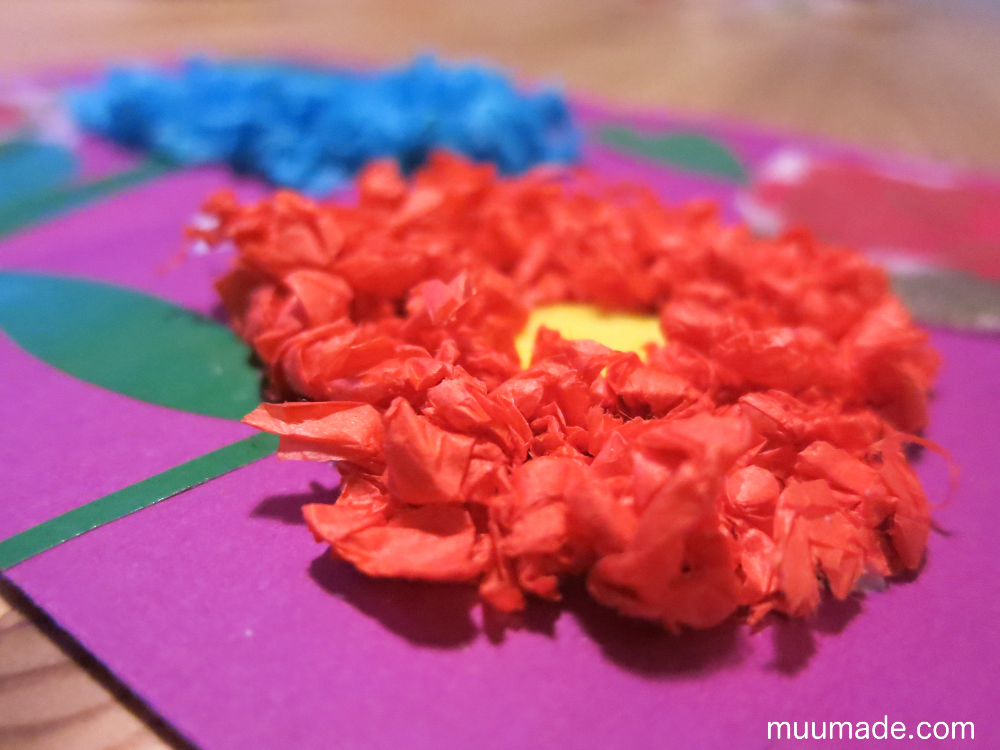
My daughter made her tissue paper scrunchies a little more loose and a bit more randomly in size than I did. As a result, I think the flowers in the photo above look quite lively.
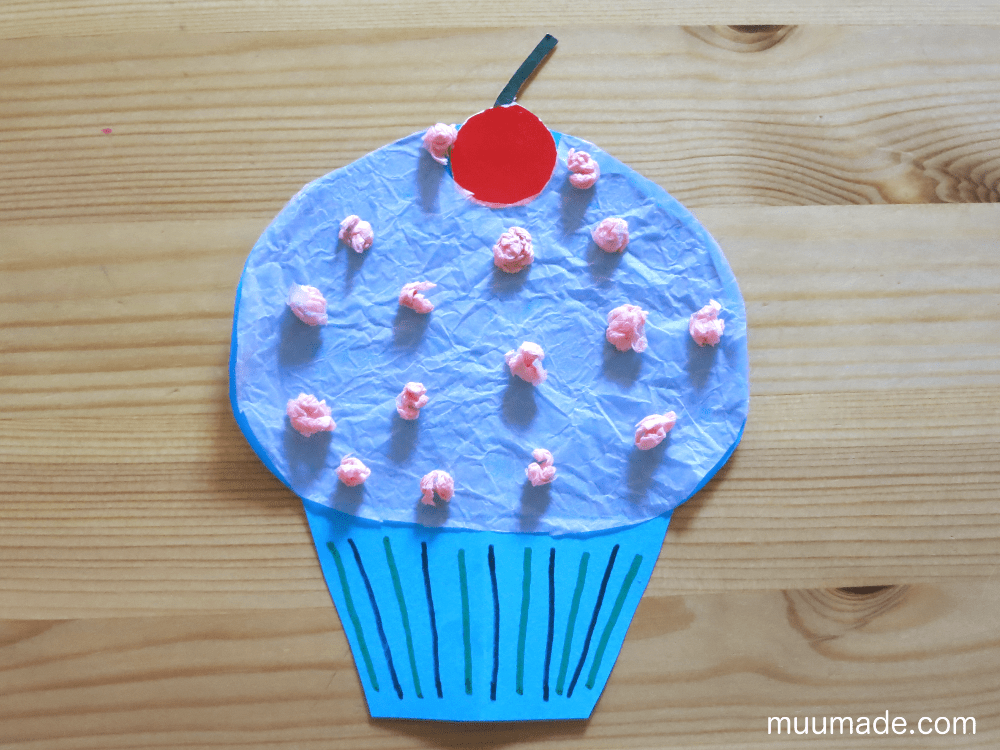
She also made a cute cup cake card adorned with a few tissue paper scrunchies. Yummy….
I would love to see your tissue paper scrunchy crafts. If you would like to share images of your creations, please visit Muumade’s Gallery.
Here are a few other interesting tissue paper craft ideas that I have found: Tissue paper fish craft, which makes stained glass-like art; Tissue painted canvas, which is a beautiful collage of colors transferred from tissue paper; and Tissue paper flower lollipops, which are pretty and sweet at the same time.
Happy crafting!
Discover more from Muumade
Subscribe to get the latest posts sent to your email.